How To Knit
By Catalogs Editorial Staff

Knitting is a Useful Hobby
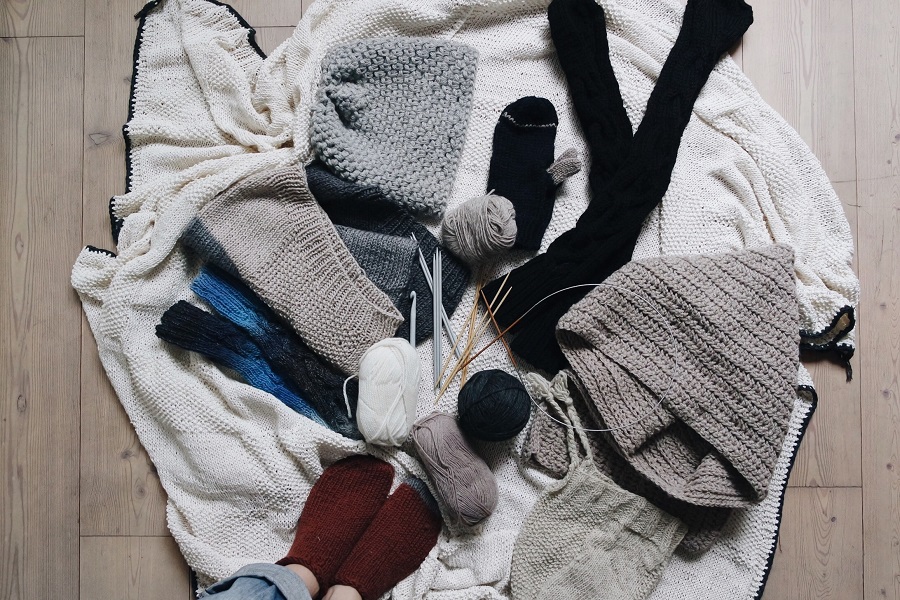
People who know how to knit can make their own unique sweaters, hats, mittens, scarves and other items. Many patterns for how to knit sweaters and other projects can be found online. The patterns will tell you how much yarn to buy and what size knitting needles you will need.
A Simple Project to Learn On
These instructions will show you how to cast on and do the knit stitch, which is also known as the garter stitch. If you follow them exactly, you will make a 7 inch by 9 inch knitted block, which will be great practice in learning how to knit. If you make enough blocks, you can join them together to create an afghan blanket.

What You Need for this Project
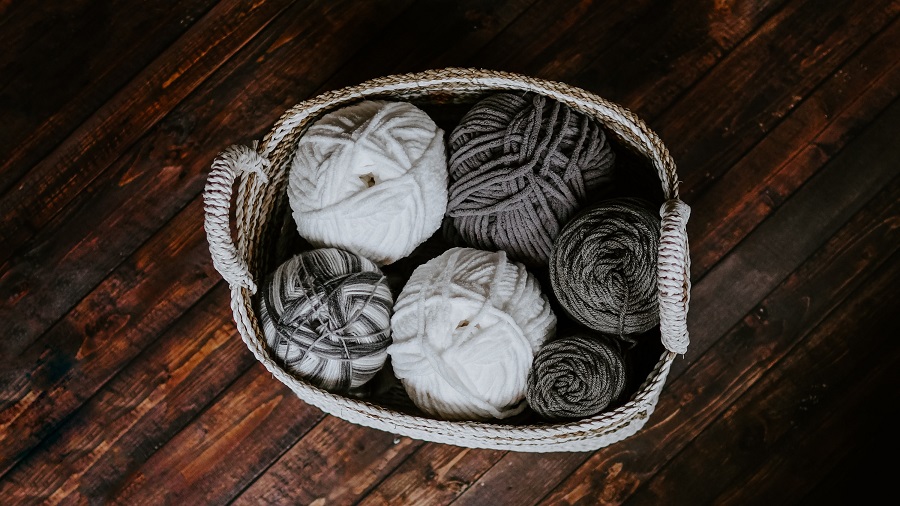
– worsted-weight yarn, any color or colors of your choice – size 8, 14 inch long knitting needles – yarn needle with big eye – small scissors
- Casting on the Stitches
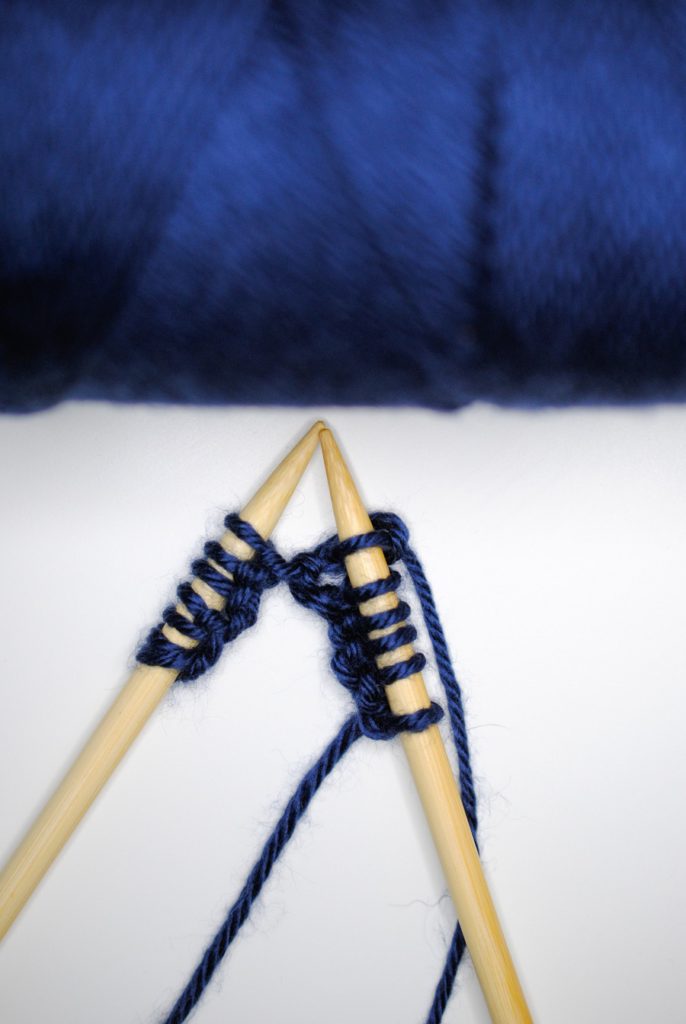
Casting on is the creation of the initial knit loops or stitches. You must do this every time you start a new knitting project.
First make a slip knot and slide it onto the shaft of one needle. This counts as your first stitch. Place this needle in your left hand. Hold the other needle in your right hand to control the yarn. Insert the point of the right needle, from front to back, into the slip knot and under the left needle.
Hold the left needle still in your left hand and move your left fingers over to brace the right needle. With the right index finger, pick up the yarn from the ball. While releasing your right hand’s grip on the needle, and use your index finger to bring the yarn under and over the point of the right needle.
Return your right hand fingers to the right needle and draw the yarn through the stitch with the point of the right needle. Slide the point of the left needle into the back of the new stitch and then remove the right needle.
Pull the ball yarn gently to make the stitch fit snugly on needle. You have now cast on one stitch and there are two stitches on the left needle because the original slip knot is counted as a stitch.
Cast on as above 26 more times until you have 28 stitches on the left needle. This completes the cast on row.

2. Knitting the First Row
Hold the needle with the stitches you just made in your left hand. Insert the point of the right needle into the first stitch (which is the one farthest right), from front to back, just as in casting on.
With your right index finger, bring the yarn from the ball under and over the point of the right needle. Draw the yarn through the stitch with the right needle point.
This next process is different from what you did while casting on. Slip the loop on the left needle off, so the new stitch moves to the right needle.
This completes one knit stitch. Repeat this for each stitch still on the left needle. When the last stitch has been worked, one row of knitting is completed.
Now measure what you did. It should be about 7 inches wide if that is the size of block you wish to make. If it is too wide, start over and cast on fewer stitches. If it is too narrow, start over and cast on more stitches. How big your knitting is depends on the type of yarn you use and how tightly you pull your stitches. For a project like this plain block, it may not matter, but if you are making a sweater or mittens, they need to end up the right size.
When the width is correct, begin the next knit row. Move the right needle (the one with the knitting on it) to the left hand. With the free needle in your right hand, follow the instructions for knitting the first row again for every stitch. Hold the needle with the stitches in your left hand and do another row of knit stitches. Continue making rows of knit stitches until the block is 9 inches long.
3. Binding the Edge
To complete the block, you must bind off all the stitches. Knit the first 2 stitches. Insert the left needle into the stitch you knitted first and pull it over the second stitch and completely off the needle. One stitch is now bound off. Knit one more stitch, insert the left needle into the first stitch on the right needle and then pull it over the new stitch and completely off the needle. Another stitch is bound off. Don’t work too tightly or the edge will not be straight and smooth.
Continue this procedure until only one stitch remains. Then cut the yarn from the skein, leaving a 6 inch long end. With the needle, draw the end up and through the last stitch to secure it. Thread the yarn end into the yarn needle and weave the end into several stitches to secure it. This will keep your knitting from unraveling.
This same technique can be used to knit any project you wish. There are other knitting stitches that create a different look. Now that you know the basics of how to knit, you can branch out and learn more.
4. Knitting the first row
Hold the needle with the stitches you just made in your left hand. Insert the point of the right needle into the first stitch (which is the one farthest right), from front to back, just as in casting on.
With your right index finger, bring the yarn from the ball under and over the point of the right needle. Draw the yarn through the stitch with the right needle point.
This next process is different from what you did while casting on. Slip the loop on the left needle off, so the new stitch moves to the right needle.
This completes one knit stitch. Repeat this for each stitch still on the left needle. When the last stitch has been worked, one row of knitting is completed.
Now measure what you did. It should be about 7 inches wide if that is the size of block you wish to make. If it is too wide, start over and cast on fewer stitches. If it is too narrow, start over and cast on more stitches. How big your knitting is depends on the type of yarn you use and how tightly you pull your stitches. For a project like this plain block, it may not matter, but if you are making a sweater or mittens, they need to end up the right size.
When the width is correct, begin the next knit row. Move the right needle (the one with the knitting on it) to the left hand. With the free needle in your right hand, follow the instructions for knitting the first row again for every stitch. Hold the needle with the stitches in your left hand and do another row of knit stitches. Continue making rows of knit stitches until the block is 9 inches long.
5. Binding the edge
To complete the block, you must bind off all the stitches. Knit the first 2 stitches. Insert the left needle into the stitch you knitted first and pull it over the second stitch and completely off the needle. One stitch is now bound off. Knit one more stitch, insert the left needle into the first stitch on the right needle and then pull it over the new stitch and completely off the needle. Another stitch is bound off. Don’t work too tightly or the edge will not be straight and smooth.
Continue this procedure until only one stitch remains. Then cut the yarn from the skein, leaving a 6 inch long end. With the needle, draw the end up and through the last stitch to secure it. Thread the yarn end into the yarn needle and weave the end into several stitches to secure it. This will keep your knitting from unraveling.
Popular Savings Offers
This same technique can be used to knit any project you wish. There are other knitting stitches that create a different look. Now that you know the basics of how to knit, you can branch out and learn more.


